> ## Documentation Index
> Fetch the complete documentation index at: https://auth0-cq3uo.mintlify.site/llms.txt
> Use this file to discover all available pages before exploring further.
# Configure JWT-secured Authorization Requests (JAR)
To use Highly Regulated Identity features, you must have an Enterprise Plan with the Highly Regulated Identity add-on. Refer to [Auth0 Pricing](https://auth0.com/pricing/) for details.
JWT-Secured Authorization Requests (JAR) allow OAuth2 authorization request parameters to be packaged into a single JWT request parameter which is then signed for integrity protection.
## Prerequisites
Before configuring your application for using JAR, you must [generate an RSA key pair](/docs/secure/application-credentials/generate-rsa-key-pair).
You should generate a separate key pair for each type of credential usage. For example, do not reuse the same key pairs for both JAR and Private Key JWT Authentication.
## Configure JAR for an application
You can configure JAR for an application with the Auth0 Dashboard and the Management API.
Use the Auth0 Dashboard to configure your application to use JAR with previously generated RSA keys.
1. Navigate to [Auth0 Dashboard > Applications](https://manage.auth0.com/#/applications).
2. Select the application you want to use with JAR.
3. Select the **Application Settings** tab.
4. In the **Authorization Requests** section, enable **Require JWT-Secured Authorization Requests**.
5. If no credential is assigned and there are credentials available, you will be prompted to assign an existing credential.
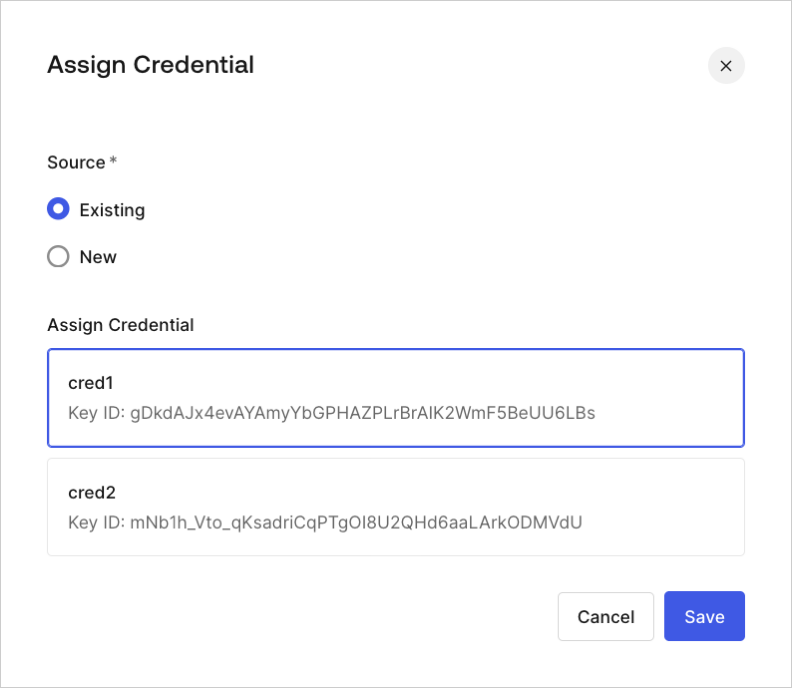
6. You will also have the option to assign a new credential.
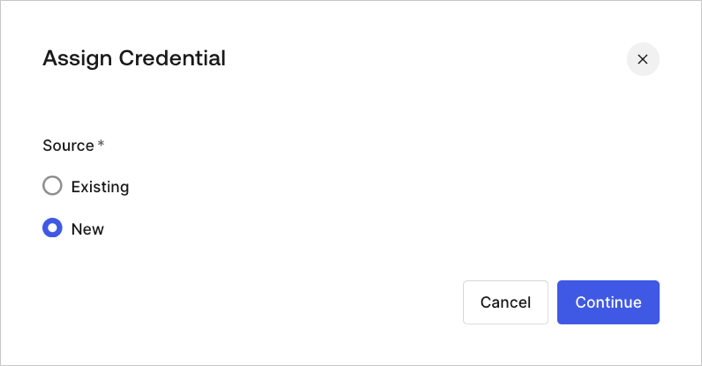
7. Add and assign a new credential by uploading a previously generated RSA key pair. When prompted, enter the following:
* **Name**: a name to identify the credential
* **Public Key**: public key of the X.509 certificate in PEM format
* **Algorithm**: select the JAR signature algorithm
* **Expiration Date**: set the expiration date of the credential
Use the [Management API](https://auth0.com/docs/api/management/v2) to configure JAR for your application using the `signed_request_object` client configuration property. This object property contains the following fields:
* `required`: forces all authorization requests to the `/authorize` and `/oauth/par` to use JAR. To learn more, read [Authorization Code Flow with JWT-Secured Authorization Requests](/docs/get-started/authentication-and-authorization-flow/authorization-code-flow/authorization-code-flow-with-jar) and [Authorization Code Flow with PAR and JAR](/docs/get-started/authentication-and-authorization-flow/authorization-code-flow/authorization-code-flow-with-par-and-jar).
* `credentials`: an array of credential IDs used to verify signatures.
The credentials parameter behaves similarly to the Private Key JWT parameter `client_authentication_methods.private_key_jwt.credentials` which supports credential creation when you create a new application. To learn more, read [Configure Private Key JWT](/docs/get-started/applications/configure-private-key-jwt).
You can configure JAR for a new application or for an existing application via the Management API.
#### Configure JAR for a new application
When you create a new application, configure JAR by sending a POST request with the `signed_request_object`. In that POST request, you can also register the corresponding client credential (i.e. the key PEM):
```json lines theme={null}
POST https://{yourTenant}.auth0.com/api/v2/clients
Authorization: Bearer [YOUR ACCESS TOKEN]
Content-Type: application/json
{
"name": "My App using JAR",
"signed_request_object": {
"required": true,
"credentials": [{
"name": "My credential for JAR",
"credential_type": "public_key",
"pem": "[YOUR PEM FILE CONTENT]",
"alg": "RS256"
}]
},
"jwt_configuration": {
"alg": "RS256"
}
}
```
#### Configure JAR for an existing application
When updating an existing application, you need to explicitly create a client credential first. The following POST request uses your PEM file content to create your client credentials for JAR:
```json lines theme={null}
POST https://{yourTenant}.auth0.com/api/v2/clients/{yourClientId}/credentials
Authorization: Bearer [YOUR ACCESS TOKEN]
Content-Type: application/json
{
"name": "My credentials for JAR",
"credential_type": "public_key",
"pem": "[YOUR PEM FILE CONTENT]",
"alg": "RS256"
}
```
Make sure newlines are properly JSON-encoded with no additional formatting.
Then, assign the client credential to the `signed_request_object` client configuration. The following PATCH request associates your client credentials with the `signed_request_object`:
```json lines theme={null}
PATCH https://{yourTenant}.auth0.com/api/v2/clients/{yourClientId}
Authorization: Bearer [YOUR ACCESS TOKEN]
Content-Type: application/json
{
"signed_request_object": {
"credentials": [{"id": "[YOUR CREDENTIAL ID]"}]
}
}
```
## Learn more
* [Authorization Code Flow with JWT-Secured Authorization Requests (JAR)](/docs/get-started/authentication-and-authorization-flow/authorization-code-flow/authorization-code-flow-with-jar)
* [Authorization Code Flow with PAR and JAR](/docs/get-started/authentication-and-authorization-flow/authorization-code-flow/authorization-code-flow-with-par-and-jar)