Use the following configuration for Heroku.Documentation Index
Fetch the complete documentation index at: https://auth0-cq3uo.mintlify.app/llms.txt
Use this file to discover all available pages before exploring further.
Configure SAML SSO in Auth0
- Go to Dashboard > Applications > Applications and either create a new application or click the name of an application to update.
- Go to the Addons tab and enable the SAML2 Web App toggle.
-
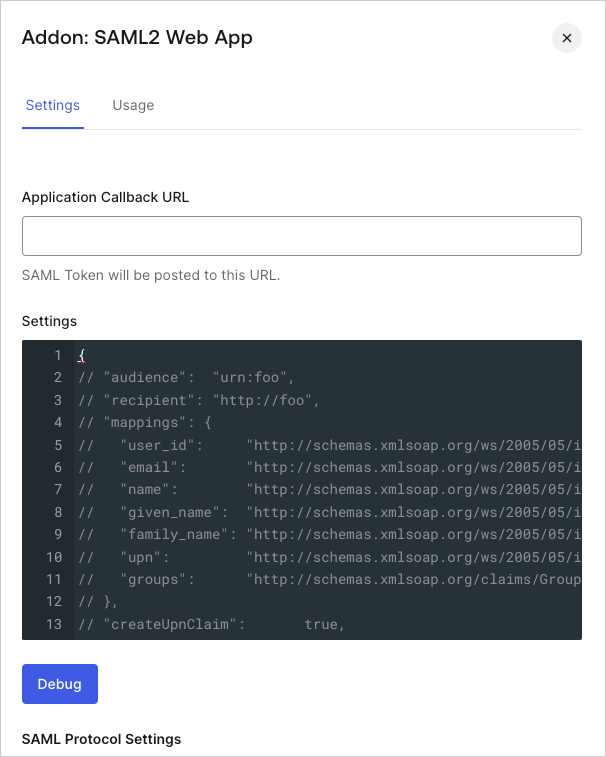
On the Settings tab, set the Application Callback URL to the ACS URL for your organization from the Settings page in the Single Sign-On section in Heroku.
-
Paste the following code into the Settings text box and click Debug.
The
audienceparameter is the Heroku Entity ID from the Settings page in Heroku. It will be formatted like this:https://sso.heroku.com/saml/{yourHerokuOrg}. - Scroll to the bottom of the page and click Enable.
-
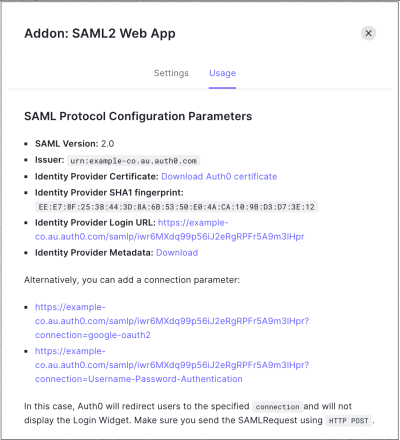
On the Usage tab, locate Identity Provider Metadata, and click Download to download the metadata file. You’ll need this when you configure Auth0 as the identity provider in Heroku.