This guide demonstrates how to integrate Auth0 with any new or existing Python API built with Django.If you haven’t created an API in your Auth0 Dashboard yet, you can use the interactive selector to create a new
Auth0 API or select an existing API that represents the project you want to integrate with.Alternatively, you can read our getting started guide,
which will help you set up your first API through the Auth0 Dashboard.Every API in Auth0 is configured using an API Identifier that your application code will use as the Audience to
validate the Access Token.
New to Auth0? Learn how Auth0 works and
read about implementing API authentication and
authorization using the OAuth 2.0 framework.
1
Define permissions
Permissions let you define how resources can be accessed on behalf of the user with a given access token. For
example, you might choose to grant read access to the 
messages resource if users have the manager
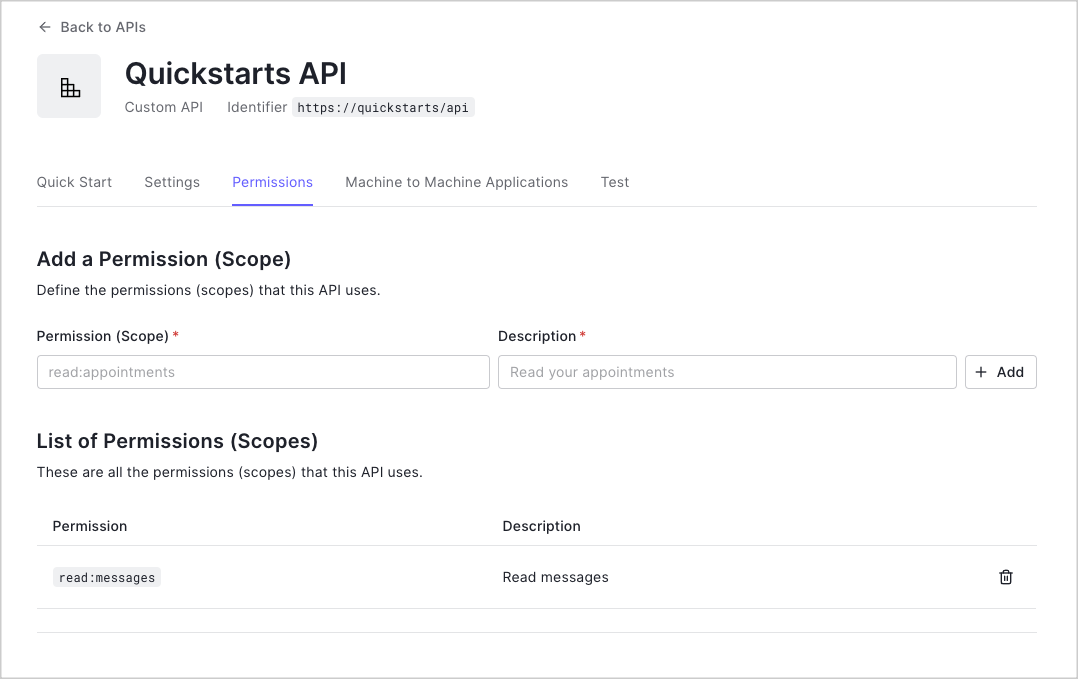
access level, and grant write access to that resource if they have the administrator access level.You can define allowed permissions in the Permissions view of the Auth0 Dashboard’s APIs section. The following
example uses the read:messages scope.
3
Create the JWT validator
You will use a library called Authlib to create a ResourceProtector, which is a type of Django view decorator that protects your resources (API views) with a given
validator.The validator will verify the Access Token that you pass to the resource by checking that it has a valid
signature and claims.You can use AuthLib’s
JWTBearerTokenValidator validator with a few tweaks to make sure it conforms
to our requirements for validating Access Tokens.To create your Auth0JWTBearerTokenValidator, you need to pass it to your domain and
audience (API Identifier). It will then get the public key required to verify the token’s signature
and pass it to the JWTBearerTokenValidator class.You’ll then override the class’s claims_options to make sure the token’s expiry,
audience, and issue claims are validated according to our requirements.Create the file apiexample/validator.py using the code from the interactive panel.4
Create the API views
Next, you’ll create three API views in
apiexample/views.py:/api/public: A public endpoint that requires no authentication./api/private: A private endpoint that requires a valid Access Token JWT./api/private-scoped: A private endpoint that requires a valid Access Token JWT containing the givenscope.
require_auth decorator, which is a ResourceProtector
that uses the Auth0JWTBearerTokenValidator you created earlier.To create the Auth0JWTBearerTokenValidator, you’ll pass it to your tenant’s domain and the API
Identifier of the API you created earlier.The require_auth decorator on the private_scoped route accepts an additional argument
"read:messages", which checks the Access Token for the Permission (Scope) you created earlier.5
Add URL mappings
In previous steps, you added methods to the  Provide the access token as an
views.py file. Next, map those methods to URLs using
Django’s URL dispatcher, which lets you map URL patterns to views.Add the URL patterns to your apiexample/urls.py file.Make a Call to Your API
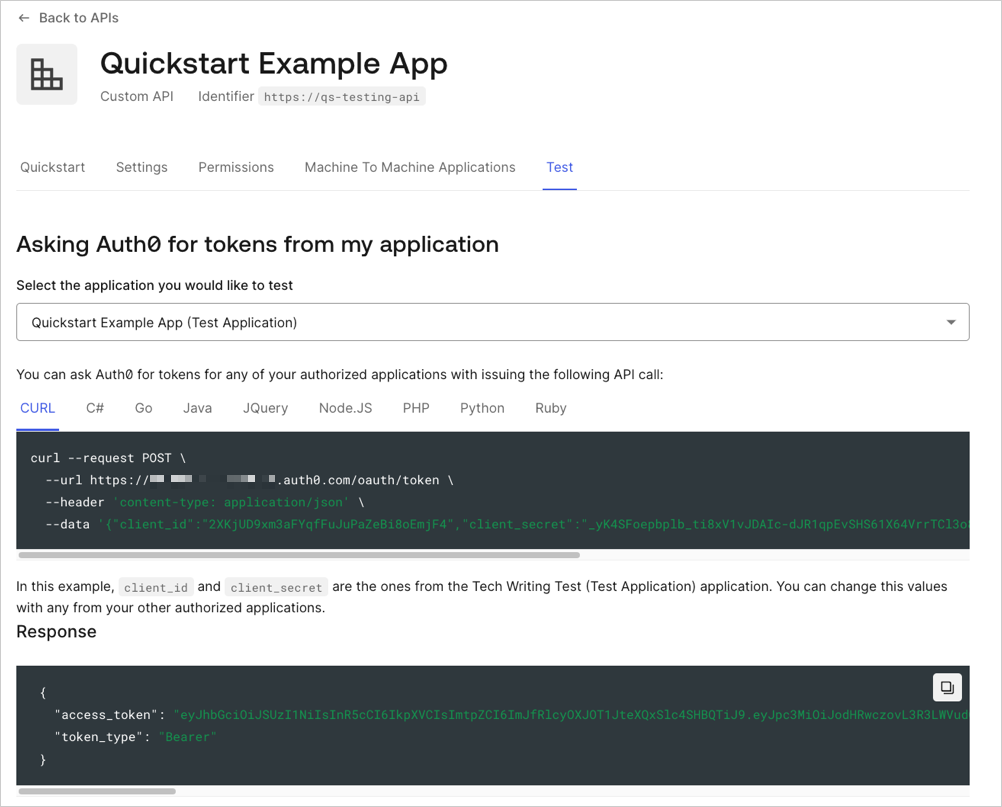
To make calls to your API, you will need an access token. You can retrieve an access token for testing purposes from the Test view in your API settings.
Authorization header in your requests.Next Steps
Excellent work! If you made it this far, you should now have login, logout, and user profile information running in your application.This concludes our quickstart tutorial, but there is so much more to explore. To learn more about what you can do with Auth0, check out:- Auth0 Dashboard - Learn how to configure and manage your Auth0 tenant and applications
- Auth0 Marketplace - Discover integrations you can enable to extend Auth0’s functionality


