This guide demonstrates how to add authentication and access user profile information in any iOS / macOS app using
the Auth0.swift SDK.To use this quickstart, you need to:Then, select the dependency rule and press Add Package.Then, run Then, run
1
Configure Auth0
To use Auth0 services, you need an application set up in the Auth0 Dashboard. The Auth0 application is where you
will configure how you want authentication to work for the app you are developing.Add the following URLs to Callback URLs and Logout URLs, depending on the platform of your app. If
you have a custom domain, use this instead of your Auth0
tenant’s domain.For example, if your iOS bundle identifier was  This will add your app to your Auth0 tenant’s
  Next, add the following entry under Associated Domains:If you have a custom domain, use this instead of your
Auth0 tenant’s domain.
Configure an Auth0 application
Use the interactive selector to create a new Auth0 application or select an existing Native Auth0 application. Auth0 assigns every application an alphanumeric, unique Client ID that your app uses to call Auth0 APIs through the SDK.Any settings you configure using this quickstart automatically update your Auth0 application in the Dashboard, which is where you can manage your applications in the future.If you would rather explore a complete configuration, you can view a sample app instead.Configure callback and logout URLs
Auth0 invokes the callback and logout URLs to redirect users back to your app. Auth0 invokes the callback URL after authenticating the user and the logout URL after removing the session cookie. If you do not set the callback and login URLs, users will not be able to log in and out of the app, and your app will produce an error.On iOS 17.4+ and macOS 14.4+ it is possible to use Universal Links as callback and logout URLs. When
enabled, Auth0.swift will fall back to using a custom URL scheme on older iOS / macOS versions.This feature requires Xcode 15.3+ and a paid Apple Developer account.
iOS
macOS
com.example.MyApp and your Auth0 domain was
example.us.auth0.com, then this value would be:Configure the associated domain
This step requires a paid Apple Developer account. It is needed to use Universal Links as callback and
logout URLs. Skip this step to use a custom URL scheme instead.
Configure the Team ID and bundle identifier
Go to the settings page of your Auth0 application, scroll to the end, and open Advanced Settings > Device Settings. In the iOS section, set Team ID to your Apple Team ID and App ID to your app’s bundle identifier.
apple-app-site-association file.Add the associated domain capability
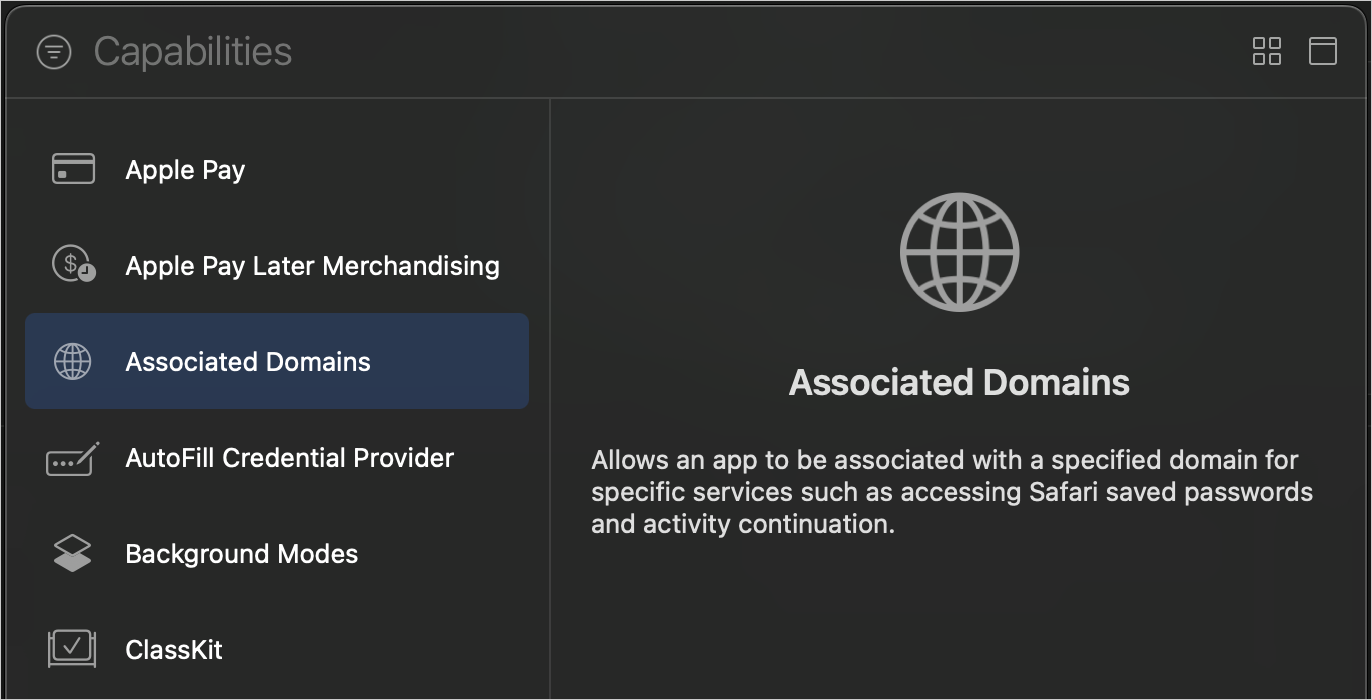
In Xcode, go to the Signing and Capabilities tab of your app’s target settings, and press the + Capability button. Then select Associated Domains.
For the associated domain to work, your app must be signed with your team certificate even when
building for the iOS simulator. Make sure you are using the Apple Team whose Team ID is configured
in the settings page of your Auth0 application.
2
Install the SDK
Using the Swift Package Manager
Open the following menu item in Xcode:File > Add Package Dependencies…In the Search or Enter Package URL search box enter this URL:For further reference on SPM, check its official documentation.
Using Cocoapods
Add the following line to yourPodfile:pod install.For further reference on Cocoapods, check their official documentation.
Using Carthage
Add the following line to yourCartfile:carthage bootstrap --use-xcframeworks.For further reference on Carthage, check their official documentation.
3
Configure the SDK
The Auth0.swift SDK needs your Auth0 domain and Client ID. You can find these values in the settings
page of your Auth0 application.
- domain: The domain of your Auth0 tenant. If you have a custom domain, use this instead of your Auth0 tenant’s domain.
- Client ID: The alphanumeric, unique ID of the Auth0 application you set up earlier in this quickstart.
plist file named Auth0.plist in your app bundle containing the Auth0 domain
and Client ID values.You can also configure the SDK programmatically. Check the README to learn more.
Checkpoint
You configured the Auth0.swift SDK. Run your app to verify that it is not producing any errors related to the SDK.4
Add login to your application
Import the 
Auth0 module in the file where you want to present the login page. Then, present the Universal Login page in the action of your Login
button.You can use async/await or Combine instead of the callback-based API. Check the README to learn more.

Checkpoint
Press the Login button and verify that:- An alert box shows up asking for consent.
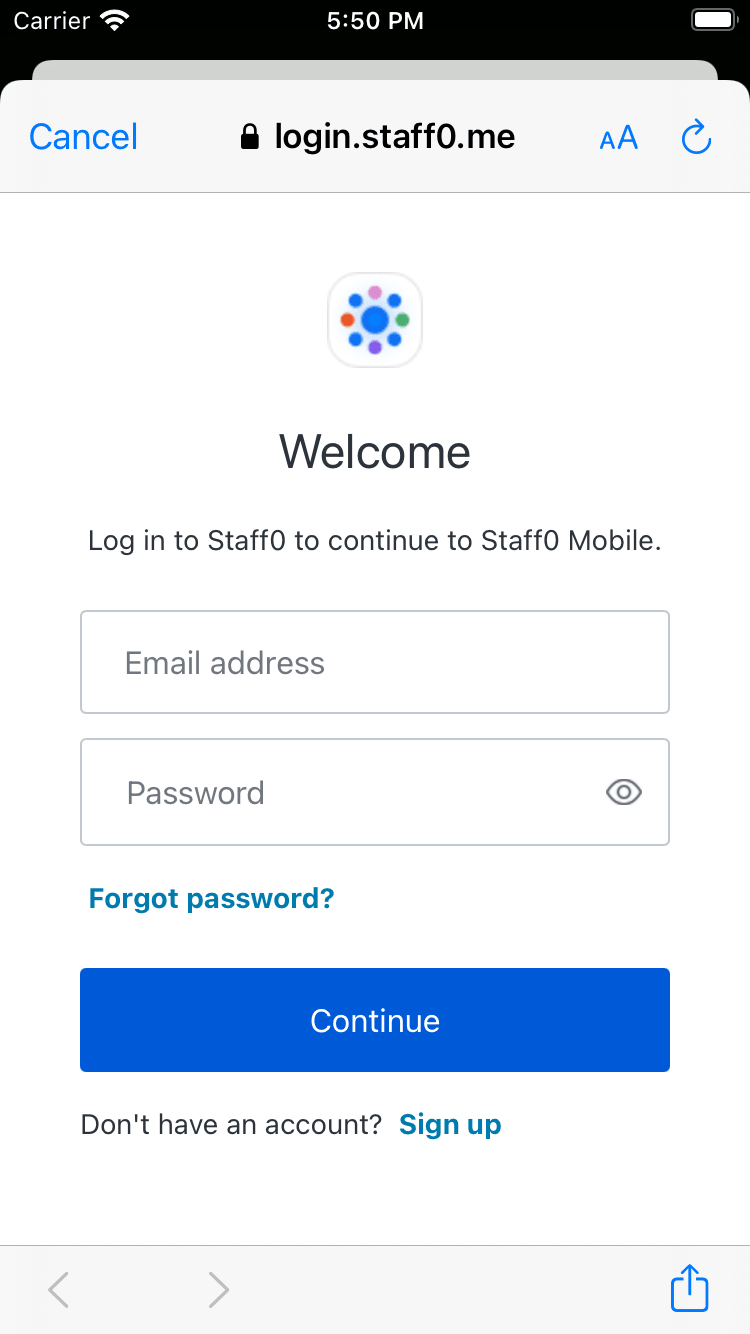
- Choosing **Continue **opens the Universal Login page in a Safari modal.
- You can log in or sign up using a username and password or a social provider.
- The Safari modal closes automatically afterward.
5
Add logout to your application
Now that you can log in to your app, you need a way to log out. In the action of your Logout button, call the
clearSession()
method to clear the Universal Login session cookie.Checkpoint
Press the Logout button and verify that:- An alert box shows up asking for consent.
- Choosing **Continue **opens a page in a Safari modal.
- The Safari modal closes automatically soon after.
6
Access user profile information
The
Credentials instance you obtained after logging in includes an ID token. The ID token contains the profile information
associated with the logged-in user, such as their email and profile picture. You can use these details to
personalize the user interface of your app.The Auth0.swift SDK includes a utility for decoding JWTs like the ID token. Start by importing the JWTDecode module in
the file where you want to access the user profile information. Then, use the decode(jwt:) method to
decode the ID token and access the claims it contains.You can retrieve the latest user information with the
userInfo(withAccessToken:) method.
Check the EXAMPLES to learn more.Checkpoint
Verify that you can access theemail, picture, or any other claim after you have logged in.Next Steps
Excellent work! If you made it this far, you should now have login, logout, and user profile information running in your application.This concludes our quickstart tutorial, but there is so much more to explore. To learn more about what you can do with Auth0, check out:- Auth0 Dashboard - Learn how to configure and manage your Auth0 tenant and applications
- Auth0.swift SDK - Explore the SDK used in this tutorial more fully
- Auth0 Marketplace - Discover integrations you can enable to extend Auth0’s functionality


